Friday, July 8, 2011

Wedding Cupcakes!

Hey Everyone,

I have successfully completed my first wedding cupcake order and it was a HUGE success! I was so happy with how everything turned out. It was definitely worth the two and a half days it took to complete everything. The wedding was simple but still beautiful and even though it was just a small ceremony with a Justice of the Peace it was still very beautiful and romantic. It just goes to show that a wedding doesn't have to be a big to do. All you need is family and a minister and a couple that is in love.

The cupcakes I used for the wedding were the classic red velvet cakes that I posted on here a few weeks ago and a delicious White Chocolate Mocha cupcake. Both were to die for. I made over 2 dozen of each and now 5 hours after the ceremony and reception, there are a grand total of six left. SIX. There were only 13 guests at this wedding and my grandparents only had one between the two of them. That's a lot of cupcakes. Here's some pictures from the ceremony and of the awesome cupcake stand that I made myself. It was a lot of work but definitely worth all of the hot glue gun burns.


The bride's bouquet mixed with the cupcakes and wedding glasses. I'm beginning to become obsessed with weddings. 

Another shot. My crazy uncle who was also one of the photographers for the night went a little nuts.


They started messing with different colored backgrounds.

Then green. I think I like the red better because the letters seemed to have popped out more.

Congratulations to my Tita Joan and Uncle Sam! The wedding was beautiful and you two are going to have a great life with each other. I'm glad I was able to make it back to be here to celebrate with you all.

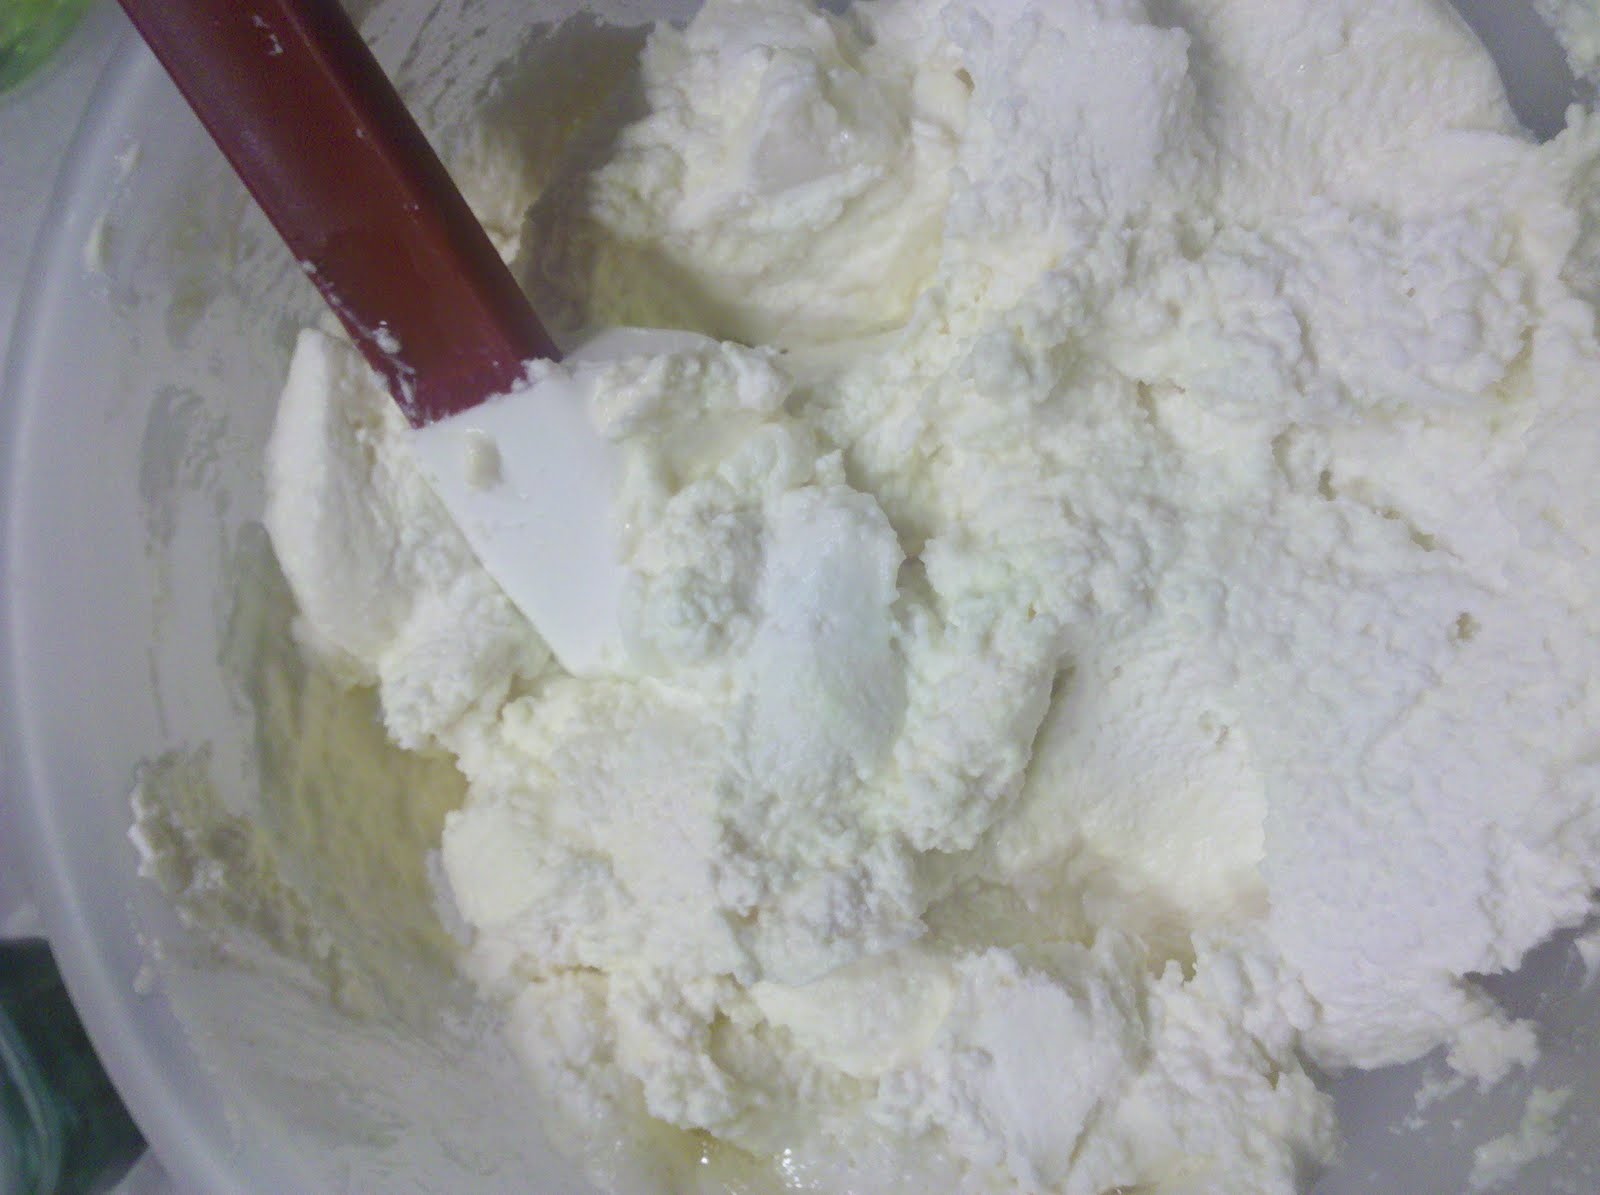
Here's the recipe for the delicious white chocolate cupcakes. It was very involved and it definitely made a mess of a lot of dishes but it was completely worth it. The only major fail of the whole adventure were the chocolate hearts that I had hand piped onto wax paper and put in the freezer as decoration for the tops but it was just so dang hot outside that the hearts wouldn't hold their own for longer than 4 minutes so I had to scrap them and just put chocolate sprinkles. Next time, I think I might pipe thicker chocolate so that it is more sturdy. Other than that, it was amazing.

Ingredients:
Cupcakes:
5 oz. Semisweet Chocolate (coarsely chopped)
2 cups Cake Flour
1/2 tsp. Salt
1/2 cup Sour Cream
5 tbsp. Cocoa Powder
2 1/2 tsp. Baking Soda
4 Eggs
2 tsp. Vanilla Extract
1 1/2 cups Hot Coffee
12 tbsp. Unsalted Butter (room temperature)
1 1/4 cup plus 2 tbsp. Brown Sugar

Whipped Cream:
6 oz. White Chocolate (finely chopped)
1 1/2 cups Cold Heavy Cream

Decorating:
4 oz. Semisweet Chocolate (finely chopped)
Chocolate Sprinkles

Directions:
To make the cupcakes, preheat the oven to 350 degrees F.  Line two cupcake pans with paper liners.  In a double boiler, melt the chocolate.  Let cool slightly.  In a medium bowl, sift together the flour and salt.  In another bowl, whisk together the sour cream, cocoa powder and baking soda.  Mix to form a paste and then slowly whisk in the coffee.  In a small bowl, whisk together the eggs and vanilla.
In the bowl of an electric mixer fitted with the paddle attachment, cream the butter and sugar until fluffy.  Slowly add the egg and vanilla mixture and beat until combined.  Add the melted chocolate and beat well.  Add the flour mixture, alternating with the liquid mixture, beating just until all ingredients are incorporated.

Divide the batter evenly between the cupcake liners.  Bake 18-20 minutes, or until a toothpick inserted in the center comes out clean.  Allow to cool in the pans 10 minutes, then transfer to a wire rack to cool completely.

To make the white chocolate whipped cream, place the chopped white chocolate in a heatproof bowl set over a pan of simmering water.  Melt, stirring occasionally.  When the chocolate is almost melted, bring 1/2 cup of the cream to a boil.  Once the chocolate is fully melted, transfer the bowl to a counter, pour in the hot cream and let it sit for one minute.  Then stir gently with a spatula until the chocolate is smooth.  Let the chocolate sit until it reaches room temperature – the chocolate can’t be the least bit warm when it is added to the whipped cream.

In the bowl of a stand mixer fitted with the whisk attachment, beat the remaining 1 cup cream only until it holds the softest peaks.  With the mixer on high speed, add the white chocolate all at once and continue to beat just until the mixture holds firm peaks.  Transfer the cream to a bowl, press a piece of plastic wrap gently against the surface and refrigerate for at least 2 hours.

While the cream is setting, make the chocolate decorations.  Spread a piece of wax paper on a flat work surface.  Place the chopped chocolate in a heatproof bowl and microwave in 30 seconds intervals, stirring in between, until completely melted.  Allow the chocolate to cool for several minutes (I probably waited 10-15 minutes).  Transfer the melted chocolate to a plastic squeeze bottle (a plastic bag with the corner cut off would also work).  Carefully squeeze the melted chocolate onto the wax paper in the desired shape.  Allow to set completely.  Carefully peel off of the wax paper.
Frost the cupcakes with the now set white chocolate whipped cream, top with chocolate sprinkles, and garnish with chocolate decorations.  Store in the refrigerator but serve at room temperature for best flavor.

Source: Annie's Eats

Enjoy!

Sunday, June 26, 2011

Mad Tea Party Cinnamon Swirl Cupcakes


It's the Mad Tea Party and I was so excited about sharing the recipe for these cupcakes. I'm on a bit of a cupcake kick right now if you couldn't tell. I thought long and hard about what I was going to make for this Mad Tea Party and I had a hard time deciding between so many different recipes. But, I finally picked one and decided to create these wonderfully moist and fluffy cinnamon swirl cupcakes.

And what's even better is that they were SUPER easy to make. It took me less than an hour to get everything put together, baked, and cleaned up. It was fantastic! And I only dirtied up about three dishes which was even better because I hate doing dishes! Anyways, here is a step by step picture tutorial on how to recreate these decadent cinnamon swirl cupcakes with cream cheese frosting. I also have an obsession with cream cheese frosting if you couldn't tell that either.

Ingredients
8 tblsps Unsalted Butter (Room Temperature)
1 1/3 cups Cake Flour
1 cup Sugar
1 tsp Pure Vanilla Extract
2 large Eggs
1 tsp Baking Powder
Pinch of Salt
1/2 cup Milk
1/4 cup Cinnamon
1/2 cup Brown Sugar

Frosting
1 1/2 sticks Butter
8oz Cream Cheese
2 1/2 cups Powdered Sugar
1/8 tsp. Salt
1 tblsp. Pure Vanilla Extract

Directions 

Combine the cake flour, baking powder, and salt in a large mixing bowl and mix with a whisk until even and no lumps can be seen.


In the bowl of a stand mixer fitted with a paddle attachment cream the butter and the sugar together until fluffy. Add the vanilla and then the eggs, one at a time, mixing until each egg is fully incorporated into the mixture. With the stand mixer on low speed slowly begin to mix in the flour mixture. Alternate with the 1/2 cup of milk in three additions beginning with the milk and ending with the flour. Mix until everything is just incorporated all together. Do not over mix!!!!


Mix together the cinnamon and the brown sugar being sure to remove any lumps that may have formed. Pour this mixture over the batter and carefully fold into the cake batter. Don't mix it all in. It should only take about six turns of a spatula and it's done.


 Evenly distribute the batter amongst the prepared muffin tins. Do not fill the pans more than 2/3 of the way full. I accidentally did and had gigantic cupcakes that were spilling over the sides. Bake the cupcakes at 350°F for 20 minutes rotating the pans half way through the cooking process. Allow to cool for 10 minutes on a wire rack.

For the frosting, cream together the cream cheese and the butter until fluffy before adding in the powdered sugar. Once the powdered sugar is absorbed add in the salt and vanilla and if desired a tablespoon of heavy cream. Mix together until fluffy.

  
And this is what you get after everything is said and done. 


Sorry for my poor photography skills. I'm still learning.

Enjoy!

Tuesday, June 21, 2011

Red Velvet Cupcakes and a Surprise!

Hello everyone,

It has been way too long since I've had time to sit down and post a new blog entry. That's the life of a college student I guess. Anyways, I have been baking and cooking and baking away. My roommates have all started to hate me more and more because of how much I've been cooking in the kitchen just to let out all of my stress. I think they may be planning a coup to throw me out of the kitchen....uh oh. Their diets can wait another couple more weeks in my opinion. Summer is here and they want to look good in their swim suits and I get that, but I can't be the only one who looks terrible in my swim suit.

Anyways, this past weekend I had the BIGGEST craving for red velvet cupcakes ever. I wanted them so bad that I could already taste it. So, to satiate my craving, I made them. And boy, did I make them. I haven't had a red velvet cupcake quite like this one before. I almost cried because they were so yummy and moist and fluffy. And because they just look so darned cute all red and white and whatnot. I'm beginning to talk about cupcakes like I do about my little babies. Speaking of babies....I have to put up some of the pictures from the last couple of weeks. These kids are my little buddies. I can't imagine not having them around. Okay, so they're not exactly from the last couple weeks, it's more like the past couple months but in all fairness I haven't posted any baby pictures on here ever which means I need to start the baby love now.


These are when the twins were just a few months old and they were sound asleep in their little play crib. I miss these days when I could just stare at them as they slept.

This is my little buddy Hayden! Hi Hayden! Isn't he just the CUTEST!?

Um, first birthday cake? How precious!? I laughed. I cried. I wanted to hug them all day long and never let go. They're growing up too fast!

Twins!


Baby cuteness is just as good if not better than food goodness.

And I just could NOT resist putting this one in there. How adorable is he!? Also, let us take a minute to mourn the loss of such beautiful homemade hand decorated first birthday cakes. They were delicious and beautiful while they lasted.

Anyways, back to CUPCAKES! Here's the recipe for Red Velvet cupcakes with amazing mouthwatering delicious cream cheese frosting.


Ingredients:
For the cake:
2½ cups cake flour
1½ cups sugar
1 tsp. baking soda
1 tbsp. cocoa powder
1 tsp. salt
2 large eggs
1½ cups vegetable oil
1 cup buttermilk
2 tbsp. (1 oz.) liquid red food coloring
1 tsp. vanilla extract
1 tsp. distilled white vinegar

For the Frosting:
1 stick regular (salted) butter
1 8-ounce package cream cheese
1 pound sifted powdered sugar
1 teaspoon vanilla extract
Dash of salt to taste (to avoid over-sweetness)
 
Directions: 
Preheat the oven to 350° F.  Line cupcake pans with paper liners.  In a medium bowl, combine the cake flour, sugar, baking soda, cocoa powder and salt; whisk to blend.  In the bowl of an electric mixer, combine the eggs, vegetable oil, buttermilk, food coloring, vanilla and vinegar.  Beat on medium speed until well blended.  Mix in the dry ingredients on low speed and beat until smooth, about 2 minutes.
Divide the batter evenly between the prepared liners.  Bake, rotating the pans halfway through baking, until a toothpick inserted in the center comes out clean, about 18 minutes.  Let cool in the pans 5-10 minutes, then transfer to a wire rack to cool completely.

For the frosting, Add all ingredients to a bowl and mix until smooth. Refrigerate for 30 minutes before using. In the words of Ina Garten,  "How easy was that!?"

 Mmmm, just looking at these pictures makes me long to have another one right in front of me right now. Too bad these babies didn't last very long.

Admire the beauty and simplicity of a red velvet cupcake. Also, the SURPRISE! I was just offered my first opportunity to bake a wedding cake! I am so beyond excited that I can't even adequately put it into words. I cannot wait to get started. Weddings make me so so so happy and to be able to make the cake for the happy couple just makes it even more exciting for me! Yay!


Recipe adapted from Annie's Eats and The Pioneer Woman

Happy Eating!

Jess

Wednesday, May 25, 2011

Sinfully Delicious Chocolate Fudge Cake with Peanut Butter Frosting and a Mad Tea Party!

I saw a post on Annie's Eats where she made a chocolate cake with peanut butter frosting and I was just dying to try it. I am a sucker for anything that has chocolate and peanut butter in it. I thought I would give it a try with Nigella Lawson's Chocolate Fudge Cake.

It's a good thing I enjoy physical exercise because after a slice of this cake, I definitely needed it. It was so rich and chocolaty and amazing that I had a hard time keeping my self control and not just eating the whole dang thing by myself. It was so worth the extra work out time.

Ingredients:
2 2/3 cups All-Purpose Flour
3/4 cup + 1 tblsp Granulated Sugar
1/3 cup Light Brown Sugar
1/4 cup Cocoa Powder
2 tsp. Baking Powder
1 tsp. Baking Soda
1/2 tsp. Salt
3 Eggs
1/2 cup + 2 tblsp. Sour Cream
1 tblsp. Vanilla Extract
3/4 cup Unsalted Butter (melted and cooled)
1/2 cup Corn Oil
1 1/3 cups Chilled Water

Directions:
Preheat the oven to 350 degrees F°. Butter and line the bottom of 2 (8-inch) cake pans.
In a large bowl, mix together the flour, sugars, cocoa, baking powder, baking soda and salt. In another bowl or wide-necked measuring cup whisk together the eggs, sour cream and vanilla until blended. Using a standing or handheld electric mixer, beat together the melted butter and corn oil until just blended (you'll need another large bowl for this is using the hand mixer; the standing mixer comes with its own bowl), then beat in the water. Add the dry ingredients all at once and mix together on a slow speed. Add the egg mixture, and mix again until everything is blended and then pour into the prepared tins.
Bake the cakes for 45 to 50 minutes, or until a cake-tester comes out clean. Cool the cakes in their pans on a wire rack for 15 minutes, and then turn the cakes out on the rack to cool completely.

Peanut Butter Frosting 
Ingredients:
1 1/2 cups Creamy Peanut Butter
1 cup Unsalted Butter (room temperature)
1/2 tblsp. Vanilla Extract
1 tblsp. Heavy Cream
3-4 cups Powdered Sugar

Directions: 
In a stand mixer cream the butter and the peanut butter until well combined and fluffy. Slowly add in 2 cups of the powdered sugar and mix until well combined and smooth. Add in vanilla and heavy cream and mix until combined before adding in the rest of the powdered sugar. Add in as much powdered sugar until the desired consistency is reached.

After all is said and done and the cake has been frosted this is the delicious product that you are left with. Try really really hard to not just dive into this cake. Just the smell of the chocolate goodness and the peanut butter was enough to make me crazy!


Sorry for the low quality pictures. I tend to only have my Android phone on hand when cooking because I leave my camera with the twins I babysit so I never ever miss one of their cute, giggle inducing moments.


I can't even being to explain how much my roommates hated me when they saw this lovely sitting on the cake stand in our kitchen. My mom and sister were very angry that this cake was not around at the house in Virginia. Sorry, guys, I told you to just come out and visit me here in lonely old Oklahoma.


One day I will take beautiful pictures of my food like Annie's Eats or Sweetapolita who have inspired this blog on more than one occasion. I am so jealous of their talent and their abilities.

Also, what's a better way to kick off the summer than with a TEA PARTY! I just found out that A Fanciful Twist is hosting what looks to be a super amazing Mad Tea Party. I'm excited to be able to be a part of it this year and I can't wait for June 25th!


Friday, May 6, 2011

Homemade Lasagna

This recipe uses the homemade spaghetti sauce recipe I posted a few weeks ago. I'm obsessed with this recipe and have been trying to find any excuse to make it. The first time I tried this homemade lasagna it turned out pretty fantastically. I made it for my family before I left for Oklahoma and all members agreed it was pretty tasty. The second time I made it (a week later) I was under a time constraint and didn't let things cook entirely and rushed through the recipe not even double checking to make sure I had put everything in. Well, it didn't turn out so well and was really just a gooey mess. It didn't taste too horrible, at least I like to hope so, but it was a pretty big fail on my part.

Anyways, despite the second trial fail, this recipe is still pretty amazing when done right and not rushed in a 30-40 minute time frame, which includes the time it takes to go to the store and find the ingredients that aren't in my pantry.

Ingredients:
1 lb. Lasagna Noodles
1 lb. Ground Beef (or any protein of your choice)
1/2 cup Yellow Onion, finely chopped
5 cloves Garlic, minced
1 14.5 ounce can Diced Tomato
1 28 ounce can Tomato Sauce
1 tsp. Dried Oregano
1/2 cup Fresh Basil Leaves, chopped
1 tsp. Sugar
Ground Black Pepper
1 tsp. Salt
1/2 cup Heavy Cream (optional)
32 ounces Ricotta Cheese
2 eggs
4 cups Mozzarella, shredded

Directions:
In a large pot bring water to a boil. Generously salt the water and add the noodles as well as olive oil. (If you do not add the olive oil your lasagna noodles will be a mess to peel apart!)
In a large saucepan over medium heat, brown the ground beef (or whatever protein you choose to use). Add in the onions and garlic and continue to cook until the onions are translucent and the beef is browned.
Stir in the diced tomatoes, the tomato sauce, oregano, and heavy cream and simmer until sauce is thickened, about 10 minutes. (Because I am not a huge fan of that overly strong tomato-y taste, I almost always mix in heavy cream just to dumb down that tomato flavor. I did the same with this recipe and it still tasted fantastic.)
Remove from heat and stir in chopped basil, sugar, and season with salt and pepper to taste.


About the time the sauce has finished, the noodles should be ready. Dump them over a strainer and let cool so you don't burn your fingers off while assembling the lasagna.
While the noodles are cooling, in a separate large bowl, mix together the ricotta cheese and two eggs. Season with salt and pepper to taste and set aside.


Clear off some counter space and put your sauce and ricotta mixture on the counter with a 9"X13" pan. (The first time I made this, we had a very deep casserole dish. The second time, I only had a regular 9"X13" cake pan available. If I had a preference it would of course be with the deep casserole dish.)
Put some sauce in the bottom of whatever pan you are using to act as glue for the first layer of noodles. Place as many lasagna noodles as needed to cover the bottom of the pan.


Next, spread a layer of ricotta cheese on top of the noodles.


I spread a layer of mozzarella cheese after the ricotta mixture and then another layer of sauce. Do this until the dish is completely full. Spread a final layer of sauce and then the remaining mozzarella cheese to complete.


Bake at 400°F for about 25-30 minutes or until the cheese on top is brown and bubbling.


This dish is so delicious if done right!

Happy Eating!

Monday, April 25, 2011

Happy Belated Easter!

Happy Belated Easter!

This past week my mom and dad celebrated 25 years of marriage. That's a huge accomplishment in my opinion especially in this day and age. Congrats Mom and Dad and I hope you are enjoying your getaway in Bermuda while I'm stuck at home with Thing 1 and Thing 2.

Since I'm visiting home and playing mommy for a week, I've baked a LOT! My mom complains that since I'm 1500 miles away she never gets to eat anything that I bake so now I'm baking away so when I leave she has an abundance of baked goods to last her a while. So far we've got vanilla bean cupcakes with a chocolate buttercream frosting, banana bread, yellow cake with a buttercream frosting and marshmallow fondant, and chocolate chip cookies stuffed with a double stuffed oreo. Have I baked enough in the past couple of days? I don't think so.

Still left on the to do list are double chocolate brownies, cookies and cream cupcakes, chocolate fudge, and chocolate cupcakes with peanut butter frosting. I have until Wednesday morning to have all of these baked and stored. Oh dear.

Here's the recipe for the vanilla bean cupcakes I used. They turned out fantastically! They were so good that I don't think there will be any left before Mom and Dad get home. Sad day.

Vanilla Bean Cupcakes 
3 cups Cake Flour
1 tblsp. Baking Powder
1/2 tsp. Salt
1 Vanilla Bean (split lengthwise)
1 cup Unsalted Butter (room temperature)
2 cups Sugar
5 large eggs (room temperature)
1 1/4 cups Buttermilk (room temperature)
1 tblsp. Vanilla Extract

Directions:
Preheat the oven to 350° F.  Line two cupcake pans with paper liners.  Set aside.
In a medium mixing bowl, combine the cake flour, baking powder and salt.  Whisk together and set aside.  Add the butter to the bowl of an electric mixer fitted with the paddle attachment.  Scrape the vanilla bean seeds into the bowl of the mixer with the butter and discard the pod (or reserve for another use.)  Beat on medium-high speed for 3 minutes, until light and creamy in color.  Scrape down the sides of the bowl and beat for one more minute.
Add the sugar to the butter mixture, ¼ cup at a time, beating 1 minute after each addition.  Mix in the eggs one at a time until incorporated.  Scrape down the sides of the bowl after each addition.  Combine the buttermilk and the vanilla extract in a liquid measuring cup.  With the mixer on low speed, add the dry ingredients alternately with the wet ingredients, beginning and ending with the dry ingredients and mixing just until incorporated.  Scrape down the sides of the bowl and mix for 15 seconds longer.
Divide the batter between the prepared paper liners, filling each about 2/3 of the way full (you will likely have batter left over after filling 24 wells.)  Bake 18-22 minutes, or until a toothpick inserted in the center comes out clean.  Allow to cool in the pans 5-10 minutes, then transfer to a cooling rack to cool completely.  Replace paper liners and bake remaining batter if desired.  Frost cooled cupcakes as desired.

Easy Chocolate Buttercream 
1 cup Unsalted Butter (room temperature)
3 1/2 cups Powdered Sugar
1/2 cup Cocoa Powder
1/2 tblsp. Salt
2 tsp. Vanilla Extract
4 tblsp. Milk or Heavy Cream

Directions:
Cream butter for a few minutes in a mixer with the paddle attachment on medium speed. Turn off the mixer. Sift 3 cups powdered sugar and cocoa into the mixing bowl. Turn your mixer on the lowest speed (so the dry ingredients do not blow everywhere) until the sugar and cocoa are absorbed by the butter. Increase mixer speed to medium and add vanilla extract, salt, and milk/cream and beat for 3 minutes. If your frosting needs a more stiff consistency, add a little more sugar. If your frosting needs to be thinned out, add additional milk 1 tablespoon at a time.


This is what my cupcakes looked like after all was said and done. Also, check out the pretty new cake stand my mom found at a bake sale. When she bought the cake that was sitting on it she didn't know the cake stand was included! Score!

  
 I'm not a professional photographer so excuse the poor quality of pictures. These cupcakes were so good it was hard to eat just one. It's a good thing I'm participating in a half marathon in six days or I would seriously be regretting all of the sweets I've been eating.

In addition to the cupcakes and other assorted bake goods, I had my first attempt at actually decorating a cake. I think it turned out pretty well and I almost cried when I had to cut into it to serve it. Poor Mr. Easter Bunny. You were so, so pretty.


I hope everyone had a fantastic Easter! I better get back to baking or I'm never going to finish in time.

Jess

Tuesday, April 12, 2011

Homemade Spaghetti Sauce

I love pasta. I love, love, love pasta and anything Italian really. My roommates tease me because every night when I make dinner I always make some variation of an Italian dish. I can't help it. I'm a picky eater and so far Italian cuisine has never let me down.

I was browsing through Annie's Eats and saw her recipe for "Baked Ziti." Well, because I am such an avid Italian food fan, I felt an immediate need to whip up some pasta dish. Normally, I keep jarred ready-made sauces in my pantry and I put my own twist on them by adding in different ingredients but this time I decided to try and make my own spaghetti sauce.

The house smelled absolutely amazing while it was cooking and I don't think I will ever go back to buying jarred spaghetti sauce. Here's the recipe I used and I added a few of my own little touches just because of how picky an eater I am.

Ingredients:
1/2 cup Yellow Onion, finely chopped
1 lb. Ground Beef
5 cloves of Garlic, minced
1 14.5 ounce can of Diced Tomato
1 28 ounce can of Tomato Sauce
1 tsp. Dried Oregano
1/2 cup Fresh Basil Leaves, chopped
1 tsp. Sugar
Ground Black Pepper
1 tsp Salt
1/2 cup Heavy Cream

Directions:
In a large saucepan over medium heat, begin to brown the ground beef (Don't be afraid to substitute for ground turkey or as Annie's Eats did turkey sausage, I'm just not a fan of turkey).
Add in the onions and garlic and continue to cook until onion is softened and translucent and the beef is browned.
Stir in the diced tomatoes, the tomato sauce, oregano, and the heavy cream and simmer until sauce is thickened, about 10 minutes. (Because I am not a huge fan of that overly strong tomato-y taste, I almost always mix in heavy cream just to dumb down that tomato flavor. I did the same with this recipe and it still taste fantastic.) 
Remove from heat and stir in chopped basil, sugar, and season with salt and pepper to taste.


In the words of Ina Garten, "How easy was that!?" I always thought making spaghetti sauce from scratch was going to be difficult and time consuming but this was NOTHING. The smell that permeated throughout the house was absolutely amazing and made me so hungry. This sauce is great for making a Baked Ziti like on Annie's Eats or for just eating it poured over some noodles and some Parmesan cheese on top. Delish.

Enjoy!

Sunday, April 10, 2011

The Pioneer Woman's Cinnamon Rolls

I love cinnamon rolls. I grew up in a house where breakfast consisted of whatever cereal was in the pantry or a granola bar on your way out the door. Occasionally, there would be a box of donuts from the grocery store or if it was a really good week, leftover "Cinnabon" from a trip to the mall over the weekend.

Ever since moving out of my parents house and living on my own, I told myself I was going to learn to make cinnamon rolls from scratch so I can do it for my family should I ever have one someday. Well, a couple weeks ago, I finally gave it a try and I have to say for a first attempt it wasn't TOO bad. It's all thanks to The Pioneer Woman and her fabulous cinnamon rolls recipe. If I had more time, I'd probably make these at least once a week.

As a note, these cinnamon rolls do take a LOT of time but in the end they are SO worth it. I was very intimidated at first but it's really not all that difficult.

Ingredients: 
4 cups Milk
1 cup Vegetable Oil
1 cup Granulated Sugar
2 pkgs. Dry Active Yeast
9 cups All-Purpose Flour
1 1/2 tsp. Baking Powder
3/4 tsp. Baking Soda
1 1/2 tsp Salt
1 1/2 cups Unsalted Butter (melted)
1 cup Granulated Sugar
Cinnamon

Directions: 
Mix milk, vegetable oil, and sugar in a large saucepan and heat to scalding. Basically, just until it begins to boil. Stir constantly to avoid a big giant mess. (I learned this the hard way.) 
Turn off the heat and let the mixture stand for about 45-60 minutes. When time is up, check to make sure the mixture is lukewarm before continuing on.
Pour the two packets of dry active yeast over the top of the milk, sugar, oil mixture and let it do it's thing for a few minutes.
After a minute or two, add in the 8 cups of flour and stir to combine. (This took a lot of elbow grease but it could have just been because my pot was on the smaller side and it took a lot to get all of the flour incorporated. Or I'm just a wimp.) Cover with a warm wet towel and let stand for an hour.
When the timer goes off, add in the remaining 1 cup of flour, baking soda, baking powder, and salt. Mix well right in the pan.
To make my life easier, I rolled out the dough in three batches. My kitchen doesn't have as much counter space and it was a lot easier for me to work with.
Generously butter the dough with the melted butter. (Don't be afraid of how much butter you're using. This is far from a health conscious cinnamon roll.) Sprinkle the 1 cup of sugar and the cinnamon over the top to create the ooey, gooey, yumminess that will be your cinnamon rolls.
Starting from the edges furthest from you, roll the dough into a log keeping it as tight as possible. (Having a well floured surface and rotating the dough as you roll it out is key to keeping it from sticking) When you get to the end of the roll, pinch the edges together to seal it all in.
Cut into about 1" pieces and place into greased pans. (With the full recipe I had between 45-50 cinnamon rolls.)
Allow the rolls to sit in their pans and let them get to know each other for 20-30 minutes. (This is a good time to freeze them if making them ahead of time. Just pull them out of the freezer, allow them to proof, and bake whenever needed.) 
Heat the oven to 400°F and bake these sweet things for 15-18 minutes.


I used a simple cream cheese frosting because I am a cream cheese addict but any sort of frosting (maple, cream cheese...etc.) will do. Here's the recipe I used to make these things even more delectable.

Cream Cheese Frosting: 
4 ounces Cream Cheese (room temperature)
1 cup Powdered Sugar
1/2 stick Unsalted Butter (room temperature)
1/2 tsp. Vanilla Extract

Directions: 
Combine cream cheese, powdered sugar, butter, and vanilla in a medium bowl. Using an electric mixer, beat until smooth. Spread glaze on rolls and serve warm or room temperature.

Bon appetit!

Double Chocolate Cupcakes with a Creamy Peanut Butter Buttercream

Chocolate + Peanut Butter = Euphoria.

How can anyone go wrong with chocolate and peanut butter? I can't think of a better combination for a cupcake. These were a big hit. I made them once just because I was bored one day and when my roommates and a couple friends ate them all within 24 hours, I figured it'd be a good idea to make them again. So I did. And this time I brought them to a church fellowship and there wasn't a single one left! As a newbie to this whole thing, it was quite the ego boost!

I have to admit, being the novice baker that I am, the idea of creating a buttercream on my own was a little intimidating but I figured if I was ever going to figure it out, I had to try. This recipe for peanut butter buttercream was surprisingly simple and it was definitely a positive experience.

Unfortunately, the two times that I have made this cupcake, I failed to take pictures of the whole process. However, I did manage to snap a few pictures of the finished product. Enjoy!

Double Chocolate Cupcake:
2 cups granulated sugar
3/4 cup Hershey's Cocoa
1 1/2 tsp. Baking Soda
2 Eggs
1/2 cup Vegetable Oil
1 cup Boiling Water
1 3/4 cup All-Purpose Flour
1 1/2 tsp. Baking Powder
1 tsp. Salt
2 tsp. Vanilla Extract
1 bag Milk Chocolate Chips (optional)

Directions: 
Preheat oven to 350°F . Line 12 muffin tins with cupcake liners.

Stir together flour, cocoa, baking powder, baking soda, and salt in a large bowl and set aside.
In a stand mixer, combine eggs, milk, oil, and vanilla; beat on medium speed for 2 minutes. Stir in boiling water. Slowly add in dry ingredients to wet and mix until just combined (batter will be thin). Mix in chocolate chips.
Scoop batter into muffin tins filling about 2/3 of the way full. (I also like to drop 4-5 chocolate chips on top before I put them in the oven.)
Bake for 22-25 minutes or until wooden toothpick comes out clean. Cool 10 minutes and remove from pans.

Peanut Butter Buttercream:
16 tbsp. Unsalted Butter, room temperature
1 cup smooth Peanut Butter
1 1/2 cups Powdered Sugar
2 pinches Table Salt
1 tbsp. Vanilla Extract
2 tbsp. Heavy Cream  

Directions:
In a stand mixer fitted with paddle attachment, beat butter and peanut butter at medium speed until smooth. Slowly add powdered sugar and salt and continue to beat at medium-low speed until most of the sugar is moistened. Scrape down sides and mix well. Add vanilla and heavy cream and mix until correct consistency.


This is what my finished cupcakes looked like after all was said and done. They were absolutely sinful and divine and it wasn't until after I had already devoured two of them that I thought about the calories. But I'm a college student. I'm only going to have this metabolism once, right?

Enjoy!

First Post!

Welcome to "Easy As π"

I'm Jess, an engineer-in-training and a nanny. I like to cook. I love to bake. And I really enjoy giving the people I love a meal that isn't processed or mass cooked. These are my adventures in the kitchen working my way through several cookbooks and recipes I've collected.